No-Bake Orange Creamsicle Truffles
Are you ready for a dessert that will transport you straight back to your childhood? Imagine biting into a sweet, creamy truffle that tastes just like a classic orange creamsicle! These No-Bake Orange Creamsicle Truffles are not only a delightful treat but also incredibly simple to make. With a luscious orange-infused creaminess wrapped in a smooth chocolate coating, one bite is enough to whisk you away to summer picnics and days spent lounging in the sun.
What’s even better? There’s no baking involved! These truffles are a breeze to whip up, making them a perfect family-friendly project. Plus, they’re just about the cutest little bites you can imagine. If you love recipes like our No-Bake Chocolate Cheesecake, you’re in for a delightful surprise with these bright and refreshing truffles! So, roll up your sleeves and get ready for a fun and easy kitchen adventure that will leave everyone asking for seconds.
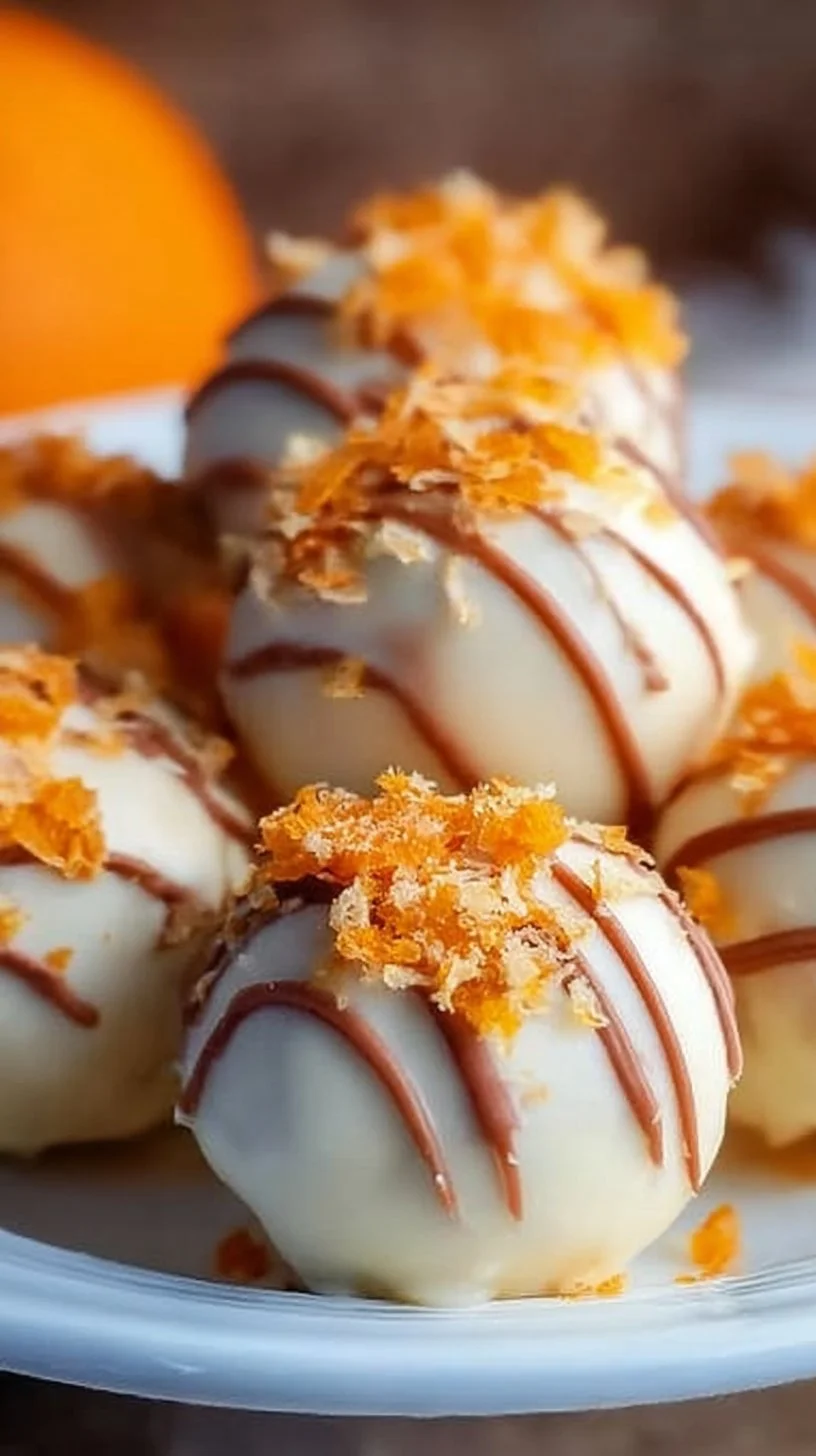
What are No-Bake Orange Creamsicle Truffles?
Curious about the name? No-Bake Orange Creamsicle Truffles sounds fancy, but let’s break it down! So, what does “no-bake” even mean? You guessed it—no oven! Instead, we mix, chill, and roll our way to dessert perfection. And what about the “creamsicle” part? Ah, that’s a nostalgic nod to the classic frozen treat that made summers so sweet. You can almost hear the ice cream truck jingle when you think about it! It’s like bringing the fun of childhood desserts into a bite-sized treat that could make anyone say, “The way to a man’s heart is through his stomach!” So come on, why not give this fun recipe a whirl? Your taste buds will thank you!
Why You’ll Love These No-Bake Orange Creamsicle Truffles
These No-Bake Orange Creamsicle Truffles are built on three irresistible pillars. First, the burst of orange flavor combined with that smooth creaminess makes for a heavenly bite. You’ll feel like you’re savoring a summer day with each truffle, regardless of the season! Second, making these at home saves you money compared to buying gourmet versions from fancy dessert shops. And let’s be honest; homemade is always the best!
Finally, let’s not overlook the delightful surprise of chocolate coating on these truffles—it’s the perfect partner to the orange filling. If you enjoy the idea of no-bake goodies, you might want to check out our No-Bake Cheesecake Bars for more delicious inspiration. So why wait? Gather your ingredients and get ready to make your taste buds dance with joy!
How to Make No-Bake Orange Creamsicle Truffles
Quick Overview
Making No-Bake Orange Creamsicle Truffles is as easy as mixing, chilling, and rolling. Enjoy the sweet, creamy, and zesty flavors in just a short prep time of about 30 minutes! After a little chilling, you’ll be ready to indulge in this delightful treat without ever having to turn on the oven!
Key Ingredients for No-Bake Orange Creamsicle Truffles
To craft these delightful truffles, you’ll need the following ingredients:
- 1 cup cream cheese, softened
- 1/2 cup powdered sugar
- 1/4 cup orange juice (freshly squeezed for best flavor)
- Zest of 1 orange
- 1 cup vanilla wafer crumbs
- 1 cup chocolate chips (milk or dark)
- 1 tablespoon coconut oil (for melting the chocolate)

Step-by-Step Instructions:
- Mix the Base: In a mixing bowl, combine the softened cream cheese, powdered sugar, orange juice, and orange zest. Mix until smooth and fully incorporated.
- Add the Crumbs: Gradually fold in the vanilla wafer crumbs until the mixture is well-blended. The mixture should hold together nicely—if it’s too soft, add a bit more crumbs.
- Chill: Cover the mixture and place it in the refrigerator for about 30 minutes. This helps the truffle mixture firm up for rolling.
- Shape into Balls: Once chilled, use your hands to roll small amounts of the mixture into balls about 1 inch in diameter. Place them on a parchment-lined baking sheet.
- Melt the Chocolate: In a microwave-safe bowl, combine the chocolate chips and coconut oil. Heat in 30-second increments, stirring until melted and smooth.
- Coat the Truffles: Dip each truffle into the melted chocolate, allowing any excess chocolate to drip off. Place the coated truffles back on the parchment paper.
- Set and Enjoy: Allow the chocolate coating to set at room temperature, or place them in the fridge for quicker results. Once set, they’re ready to be enjoyed!
What to Serve No-Bake Orange Creamsicle Truffles With
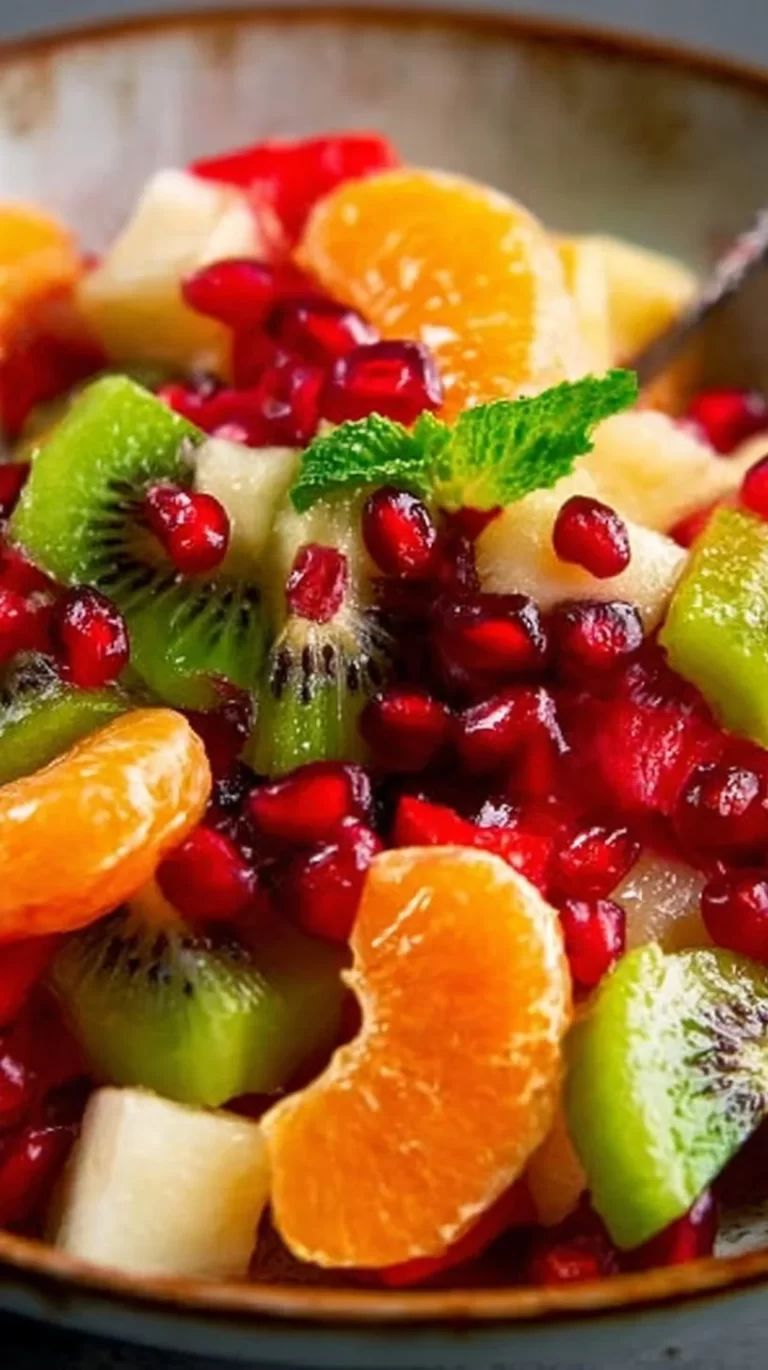
These truffles are delightful on their own, but why stop there? Consider serving them alongside a refreshing fruit salad or maybe even some whipped cream for an extra creamy touch! If you’re in the mood for drinks, a chilled glass of lemonade or an orange soda pairs perfectly, bringing a burst of freshness to your dessert.
Top Tips for Perfecting No-Bake Orange Creamsicle Truffles
- Experiment with Zest: Don’t shy away from adding extra orange zest for an even more vibrant flavor!
- Chill Time: If your mixture feels too soft, a little longer in the fridge can help achieve the right consistency for rolling.
- Chocolate Choices: Feel free to use your favorite type of chocolate! Dark chocolate can add a nice contrast to the sweetness, while white chocolate can further enhance the creaminess.
Storing and Reheating Tips
These truffles can be stored in an airtight container in the refrigerator for up to one week. They also freeze well! Place them in a single layer in a freezer-safe container for up to three months. When you’re ready to enjoy them, simply pull a few out and let them sit at room temperature for a little while to soften before indulging.
Get ready to enjoy a nostalgic treat with these No-Bake Orange Creamsicle Truffles! With their fast preparation time and delightful flavor that everyone will love, this recipe caters to all ages. So go ahead, treat yourself and your loved ones with these creamy bites of happiness!

No-Bake Orange Creamsicle Truffles
Ingredients
Method
- In a mixing bowl, combine the softened cream cheese, powdered sugar, orange juice, and orange zest. Mix until smooth and fully incorporated.
- Gradually fold in the vanilla wafer crumbs until the mixture is well-blended. The mixture should hold together nicely; if it's too soft, add a bit more crumbs.
- Cover the mixture and place it in the refrigerator for about 30 minutes to help it firm up for rolling.
- Once chilled, use your hands to roll small amounts of the mixture into balls about 1 inch in diameter. Place them on a parchment-lined baking sheet.
- In a microwave-safe bowl, combine the chocolate chips and coconut oil. Heat in 30-second increments, stirring until melted and smooth.
- Dip each truffle into the melted chocolate, allowing any excess chocolate to drip off. Place the coated truffles back on the parchment paper.
- Allow the chocolate coating to set at room temperature, or place them in the fridge for quicker results. Once set, they’re ready to be enjoyed.